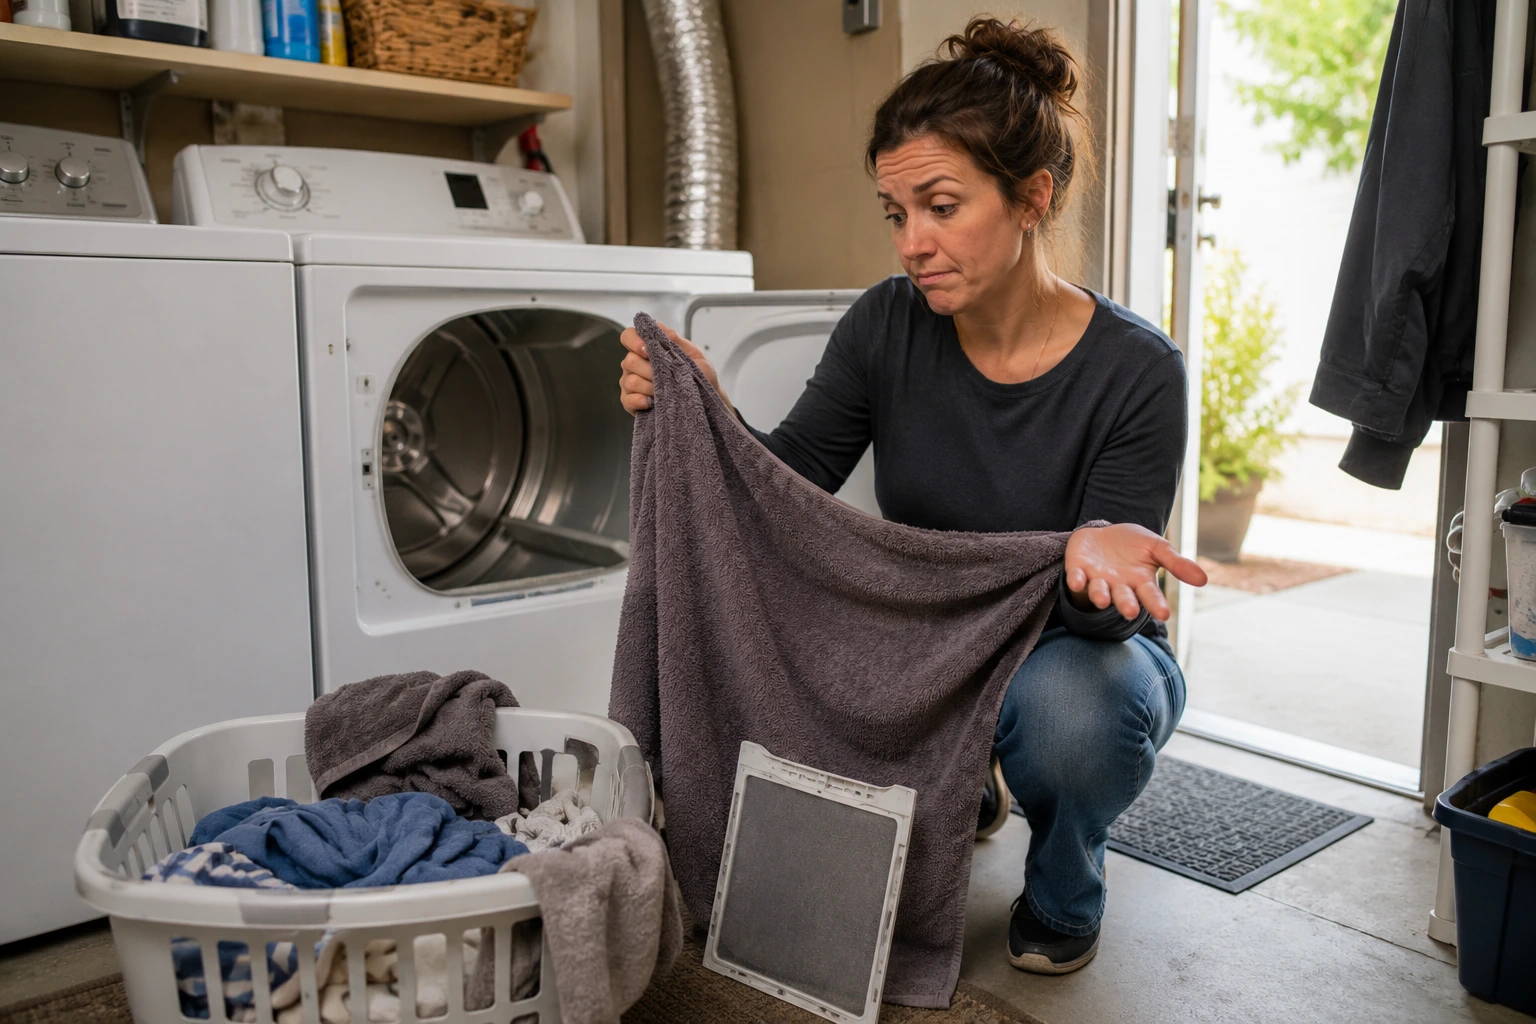
The dryer hums, the drum turns, and the cycle ends with all the confidence of a machine that believes it has completed its assignment. Then you open the door and pull out a towel that is still unmistakably damp.
I have had loads where the lightweight shirts felt finished while one towel and a fitted sheet seemed to have spent the whole cycle protecting each other from warm air. Other times, the problem was not the clothes at all. It was a setting, weak airflow, or laundry that entered the dryer much wetter than usual.
A running dryer is not the same thing as a properly drying dryer. Before assuming the appliance needs replacement, it helps to sort the problem into a few categories: load, cycle settings, washer performance, airflow, heat, sensing, installation, or an internal fault.
First, notice whether the clothes are hot or cool
The temperature of the damp laundry is not a diagnosis, but it is a useful clue. Hot-and-damp and cool-and-damp loads point you toward different first questions.
- Hot but damp: the dryer may be producing heat while moisture cannot escape efficiently. An overloaded drum, tangled bedding, restricted exhaust, dirty filters, or poor room ventilation may be involved.
- Cool and damp: the selected cycle may use little or no heat, the dryer may have stopped early, or the appliance may have a heating, power, gas, control, or sensing problem.
- Some items dry and others do not: mixed fabric weights, a knotted sheet, an oversized load, or a moisture-sensor cycle may be ending before the heaviest items are ready.
These clues are only a starting point. Dryer designs differ, and ventless or heat-pump models may feel cooler and operate differently from conventional vented dryers.
Load size and fabric mix can defeat an otherwise healthy dryer
A dryer needs room for clothing to tumble and for air to move around the fabric. When the drum is packed tightly, warm air may circulate around the outside of the load while the center remains wet.
Reduce the load before you repeat the cycle. Separate heavy towels, jeans, blankets, and sweatshirts from lightweight shirts and undergarments. Untangle sheets, duvet covers, and fitted bedding that can roll smaller items into a damp bundle.
A very small load can create a different problem. On some sensor-controlled cycles, a few items may not contact the moisture-sensor bars often enough, so the machine may decide the load is dry too soon. The appliance manual may recommend a timed cycle or a different setting for small loads.
This is also where my earlier guide to laundry habits that wear out clothes faster matters. Adding endless high-heat cycles may eventually dry the towel, but it is not a particularly elegant solution for the fabric or the electricity bill.
Check the cycle, heat level, and dryness setting
It is surprisingly easy to select an air-only, no-heat, delicate, low-temperature, eco, or energy-saving cycle and then wonder why a heavy load behaves differently. Some cycles intentionally use lower heat or longer periods to reduce energy use or protect fabric.
Confirm the actual cycle rather than relying on the button you usually press. Look for the heat level, target dryness, wrinkle-control options, eco settings, and whether the display indicates sensor dry or timed dry.
Moisture-sensor cycles can be helpful because they stop when the machine believes the load is dry. They can also end early when sensor bars are coated with residue, the load is too small, or heavy and light fabrics are mixed. Clean accessible sensor bars only as described in the manufacturer’s instructions. Do not improvise with abrasives or chemicals that the manual does not approve.
The washer may be sending the dryer an unfair assignment
If clothes enter the dryer unusually wet, drying time will increase even when the dryer is working correctly. A skipped or weak spin cycle, an unbalanced washer load, a drainage problem, or an overly full washer can leave far more water in the fabric than normal.
Compare the wetness of the load before it enters the dryer. If clothing feels heavy, drips, or can be easily wrung out by hand, the washer deserves attention too. Rebalance the load and use an appropriate spin cycle according to the washer manual.
This is an easy clue to miss because the dryer receives the blame for whatever the washer hands it. Machines, like departments in a large company, are remarkably good at transferring responsibility downstream.
Clean the lint screen, and check it for invisible residue
A lint screen covered in visible lint restricts airflow. A screen that looks clean may also be coated with residue from dryer sheets or fabric treatments, depending on the materials used and the appliance design.
Clean the lint screen according to the manufacturer’s directions before operating the dryer. Hold it up to light and inspect it for damage or residue. If the manual permits washing, follow its cleaning and drying instructions completely before reinstalling it.
Never operate the dryer without its required lint filter. The U.S. Fire Administration advises cleaning the filter before and after each cycle, and federal safety guidance links lint accumulation and restricted airflow with overheating and dryer fires.
Inspect the visible exhaust path without dismantling unsafe components
For a conventional vented dryer, moist air must travel from the machine through the exhaust duct and outdoors. A crushed transition duct, sharp bend, loose connection, excessive length, lint buildup, blocked exterior hood, or damaged vent can slow that movement.
A new dryer cannot overcome a badly restricted household vent. This is especially worth considering when drying became slower after moving the appliance, remodeling the laundry room, replacing the dryer, or pushing the machine farther back toward the wall.
With the dryer off and cool, look only at the visible and safely accessible portion of the duct. Check for obvious crushing, kinks, disconnection, melting, or damage. Do not pull on gas lines, electrical cords, hidden connections, or rigid ductwork. Do not climb onto roofs or unstable ladders to inspect an inaccessible outlet.
When safe and accessible from ground level, observe whether the exterior vent flap opens during operation and whether airflow seems obviously absent. A stuck flap, debris, nesting material, or a completely blocked outlet calls for qualified inspection rather than creative poking with whatever object happens to be nearby.
Restricted airflow is a performance problem and a safety concern
Lint can build up in the dryer, transition duct, and household exhaust system. The Consumer Product Safety Commission warns that lint can block airflow, allow excessive heat buildup, and contribute to fires. The U.S. Fire Administration also identifies failure to clean as a leading factor in home clothes-dryer fires.
Long drying time plus unusual heat deserves attention. Stop using the dryer if the cabinet becomes unusually hot, clothes smell scorched, the duct appears melted, smoke appears, or the exterior vent seems completely blocked.
Professional installation and service are appropriate when the vent route is hidden, long, inaccessible, damaged, or difficult to evaluate safely. Cleaning schedules and acceptable duct materials vary by appliance instructions, construction, and local requirements, so the current manual and qualified local guidance matter more than a universal internet timetable.
Electric and gas dryers can run without delivering normal heat
An electric dryer may turn its drum even when part of its power supply is interrupted. Some models use a double-pole circuit, and an incomplete supply or tripped breaker condition may allow the motor to operate while heating does not work normally.
Use only ordinary homeowner-level checks. Read the appliance manual and inspect the household breaker panel only if you can do so safely. Do not remove panels, test live voltage, bypass safety devices, or work on internal wiring.
A gas dryer can also tumble while an ignition, burner, gas-supply, control, or safety component prevents normal heating. Never open gas fittings or attempt internal gas repairs. If you smell gas, leave the area, avoid switches or ignition sources, and follow the gas utility or emergency authority’s instructions.
Repeated breaker trips, damaged cords, scorched outlets, sparks, or abnormal electrical behavior require the dryer to remain off until a qualified professional evaluates it.
Ventless and heat-pump dryers follow different rules
Heat-pump dryers reuse heated air in a closed-loop system instead of exhausting warm, humid air outdoors. Condenser and other ventless models also remove moisture differently from conventional vented dryers.
Do not troubleshoot a ventless dryer as though it must have an exterior exhaust. These appliances may require cleaning multiple filters, emptying or draining condensed water, cleaning an accessible condenser, and allowing longer or cooler-feeling cycles. Follow the exact model instructions.
ENERGY STAR explains that heat-pump dryers pass humid air through a condenser or evaporator and collect or drain the removed moisture. If a filter, condenser area, tank, or drain path is neglected, performance can suffer even though there is no exterior vent to inspect.
Why the dryer may stop before the load is dry
A sensor cycle may end early because the load is small, uneven, tangled, or failing to contact the sensors. A door switch, control, thermostat, overheating protection, or power interruption may also stop operation.
Record whether the machine ends normally or shuts down unexpectedly. Note the displayed cycle status, remaining time, whether the dryer can restart immediately, whether it feels unusually hot, and whether the same behavior occurs on a timed cycle recommended by the manual.
Do not bypass a thermal fuse, safety switch, or overheating control to keep the machine running. A safety device that stops operation is not being difficult. It may be the only component in the room taking the situation seriously.
Warning signs that mean stop using the dryer
Ordinary damp laundry can be investigated calmly. Some symptoms should end the experiment.
- Smoke, flames, or a burning smell
- Scorched clothing or melted materials
- An unusually hot cabinet, wall, plug, outlet, or duct
- Sparks, damaged wiring, or repeated breaker trips
- Gas odor
- Severe vibration, grinding, or metal-on-metal noise
- A disconnected, crushed, melted, or completely blocked exhaust
- A dryer that repeatedly shuts down from apparent overheating
Turn the appliance off and arrange qualified help. In an active fire, smoke, or gas emergency, leave the area and contact emergency services or the appropriate utility rather than trying to finish a diagnosis.
A safe first-check sequence
- Confirm the cycle: verify heat level, dryness setting, and whether air-only or eco mode is selected.
- Reduce and separate the load: keep heavy towels and bedding apart from lightweight clothing.
- Check washer spin performance: notice whether the load enters the dryer unusually wet.
- Clean the lint screen: follow the dryer manual and reinstall it correctly.
- Inspect visible ducting: look for safe-to-see crushing, kinks, disconnection, or damage.
- Observe the exterior outlet: only when it is safely accessible from ground level.
- Consult the manual: review sensor cleaning, filter, condenser, tank, drain, and cycle instructions for the exact model.
- Check ordinary power conditions: stay within safe homeowner limits and never test live components.
- Run one controlled load: use an appropriate load and recommended cycle while noting heat, airflow, duration, and results.
- Stop and call for service: when heating, airflow, gas, electrical, control, or safety concerns remain unresolved.
Keep a simple observation record before calling for service
A technician can do more with specific symptoms than with “it does not dry right.” Write down:
- Dryer brand and model number
- Vented, ventless, condenser, or heat-pump design
- Gas or electric
- Cycle and heat setting used
- Load size and fabric types
- Whether the clothes entered unusually wet
- Whether the clothes finished hot or cool
- Whether all items or only heavy items stayed damp
- Whether the cycle ended normally or stopped early
- Any odor, excessive heat, noise, vibration, or breaker behavior
- Visible duct or exterior-vent observations
A repeatable symptom is easier to diagnose than a vague bad afternoon. This record also helps with the repair-or-replace decision if professional service identifies a real appliance fault.
What I would do today
I would start with one medium-size load of similar fabrics. I would confirm the heat and dryness settings, make sure the washer spun the load properly, clean the lint screen, and inspect the visible duct for obvious crushing or disconnection.
Then I would follow the exact manual for the moisture sensors, filters, condenser, tank, or drain system. If the clothes remained cool and damp, the machine stopped early, airflow appeared absent, or any safety warning appeared, I would stop testing and arrange qualified service.
This is also a good moment to review the broader list of household parts and safety items that can age before they look worn out, especially flexible connections and components hidden behind appliances.
The bottom line
A dryer can run, spin, and finish a cycle while failing to dry properly. The cause may be as ordinary as mixed fabrics, an overloaded drum, the wrong setting, a dirty filter, or a weak washer spin. It may also involve restricted exhaust, sensor behavior, incomplete power, gas ignition, or an internal appliance fault.
Start with the safe visible checks. Pay attention to whether clothes are hot or cool, whether airflow has a clear path, and whether warning signs appear. The goal is not to keep rerunning the load until something gives up. It is to identify which part of the laundry process is failing and stop before a performance problem becomes a safety problem.
Related Reading
- The Laundry Habits That Quietly Wear Out Clothes Faster
- The Repair-or-Replace Math I Use Before Buying a New Appliance
- Why One Room Feels Hotter or Colder Than the Rest of the House